Something new
In the post "The unexpected purchase" I showed that I got a few (5 to be exact) Star Wars metal earth 3D puzzles from Borders. Once I finished the small kits, I started opening the AT-AT to get a feel on how building a metal kit will be and how different the experience will be from building a plamo.
This is the front and back view of the AT-AT package:
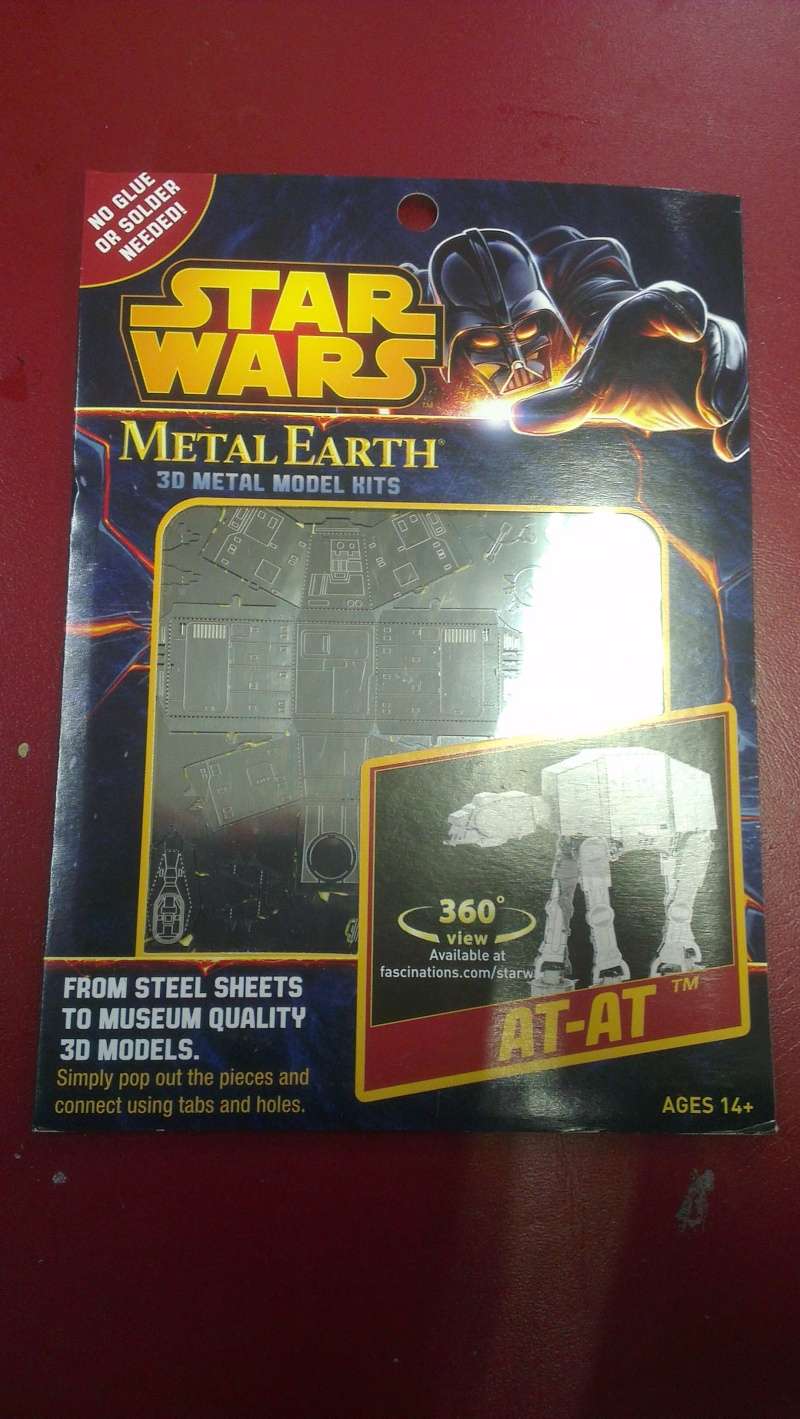
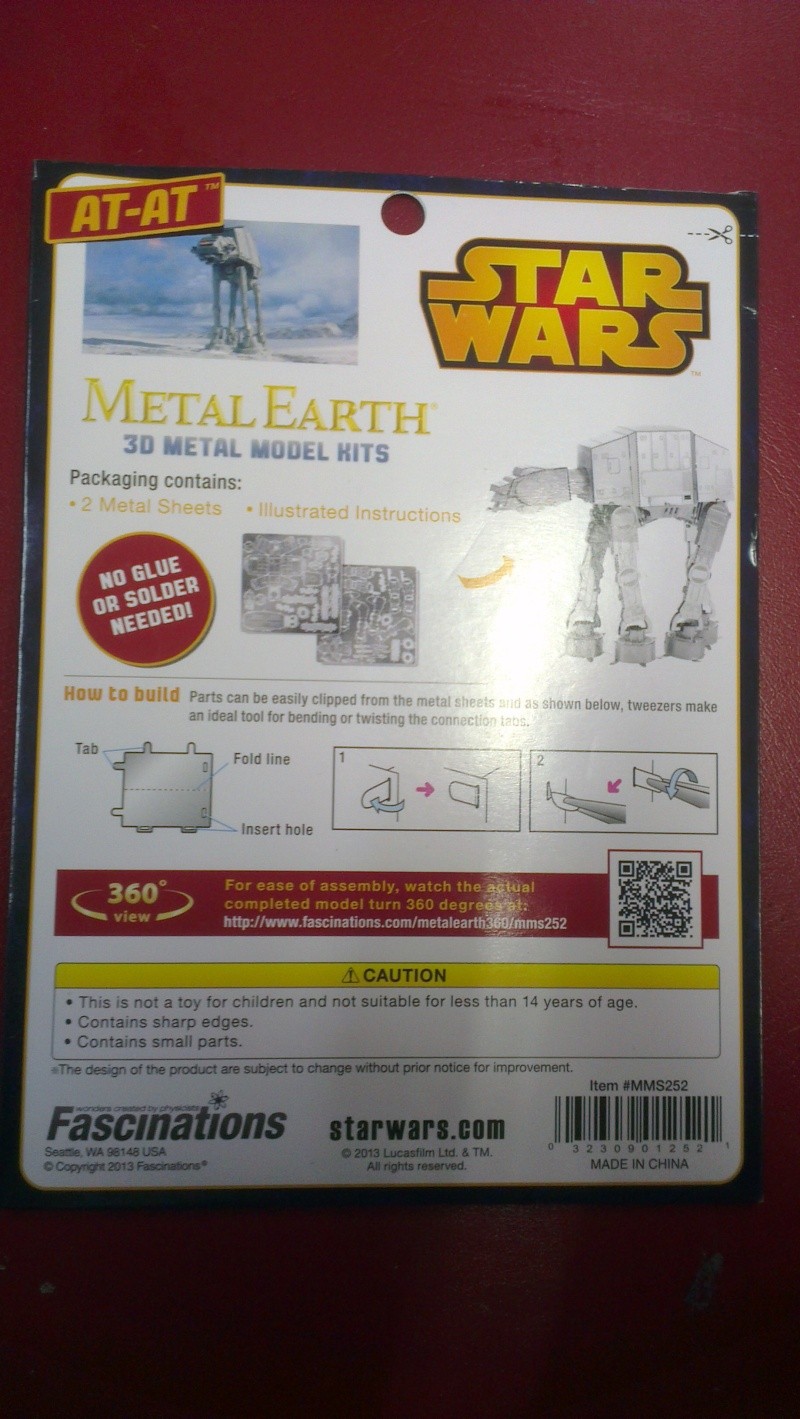
Front and back view
When opening the box, I tried to cut as small as possible to preserve the back photo of the AT-AT but that did not work out as expected. I had to cut where the picture of the scissors is thus cutting off the AT-AT words at the top.

Packaging after the cut
Upon opening the package, there will be 3 things inside: 1) Metal runers x 2 and 2) instruction sheet.
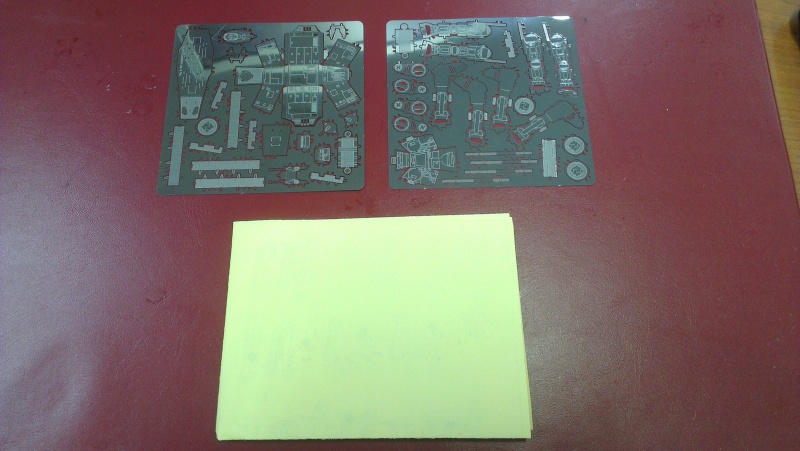
Contents in the package
The instruction opens out to an A3 size paper. Here is a scan of the instruction for the AT-AT:
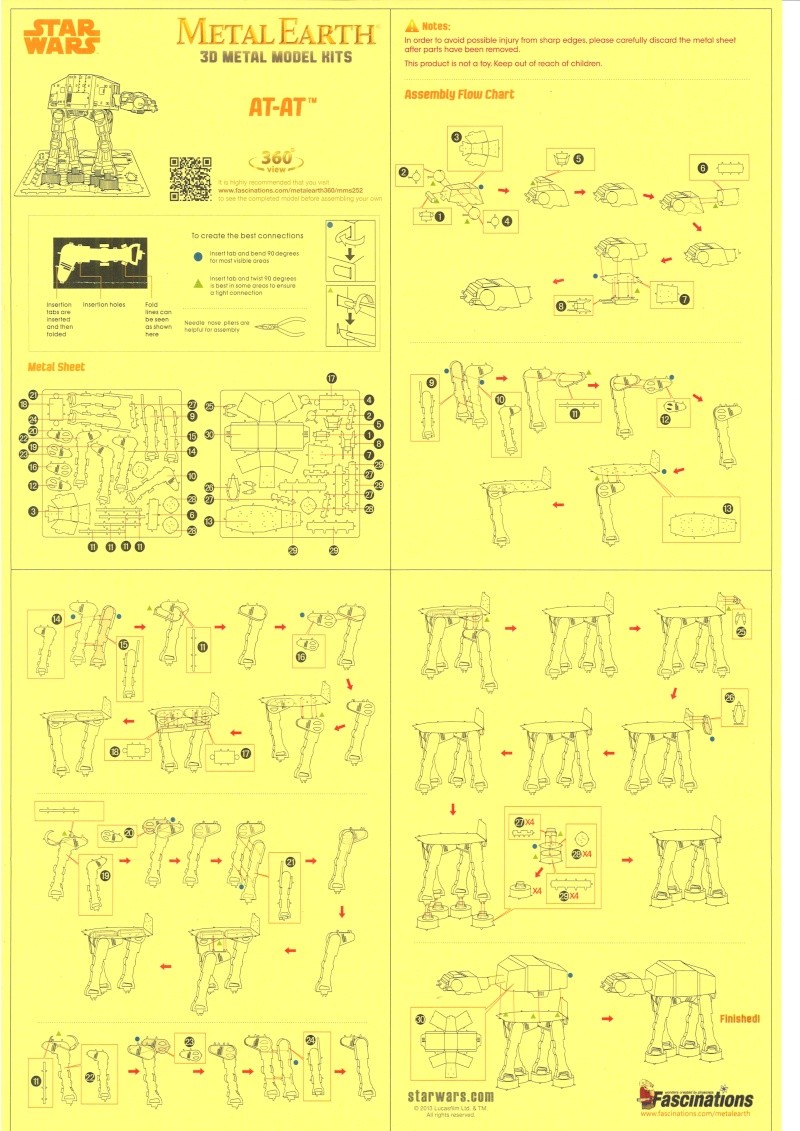
Scanned instruction
For this build, I will be needing a new tool which is never used in Gunpla building. I need a small long nose plier to grip and bend the tabs. Another useful tool is a tweezer.

Newly acquired long nose plier
Starting from the first part of the instruction:

Removed part no 3 from the runner. When removing them, you have to use either your bare hands or tweezers. Just keep in mind not to move the pieces too much because they will break. Also the pieces and runners are flimsy and sharp so be extra careful.


Front and back of piece no 3
Notice that the piece has lots of details on them? This will be great looking kit with all the details printed on. Initially thought of panel lining them black but once I saw the details in person, I decided to leave it as is.
There are markings on which part of the piece to bend. The only thing you need to remember is to look at all the parts before bending because if a mistake is done, you risk breaking the part if you bend too many times. The thing I enjoy most with this kit is the transformation of a flat 2d metal piece to a 3d model.

From 2d to 3d
After removing more parts from the runner and attaching them to the original piece, this is how the head of the AT-AT looks like:

Head of the AT-AT
This is one thing which is new to experience. Bending a flat metal piece into a cylinder shape. I was not prepared for this step. I searched high and low for something small and round but my search was in vain. I ended up using the tip of the long nose plier and it did the job.

To be turned into a cylinder

Cylinder attached to the main piece
The next step in the instruction is to attach the main piece to another piece which forms the bottom part of the head.

Top and bottom part of the AT-AT head
After some careful bending, inserting the tabs into their respective holes and bending them to lock them into place, this is the final result.


Top and bottom view


Side view

Front view
The thing to be careful here is the guns at the sides and at the bottom. They are easily bent and if bent too much, they will definitely break. In order to keep them safe from unnecessary bending, the head is kept in a plastic container.

Head stored for safe keeping
The next part according to the instruction sheet are the legs:

Well this is another part for another day. For now I'm just glad that I decided to get the metal puzzles. This will be a nice break between building gunplas.

No comments:
Post a Comment